

By Kate from Sewing from Scratch
Me Made May taught me quite a few things, one of them being that there are a few pieces in my wardrobe that just don’t fit in. They either don’t fit right, aren’t comfortable or the style just isn’t me. This romper, while I still LOVED it, just wasn’t cutting it anymore (knit fabric pattern that I used woven for because I’m a rebel).
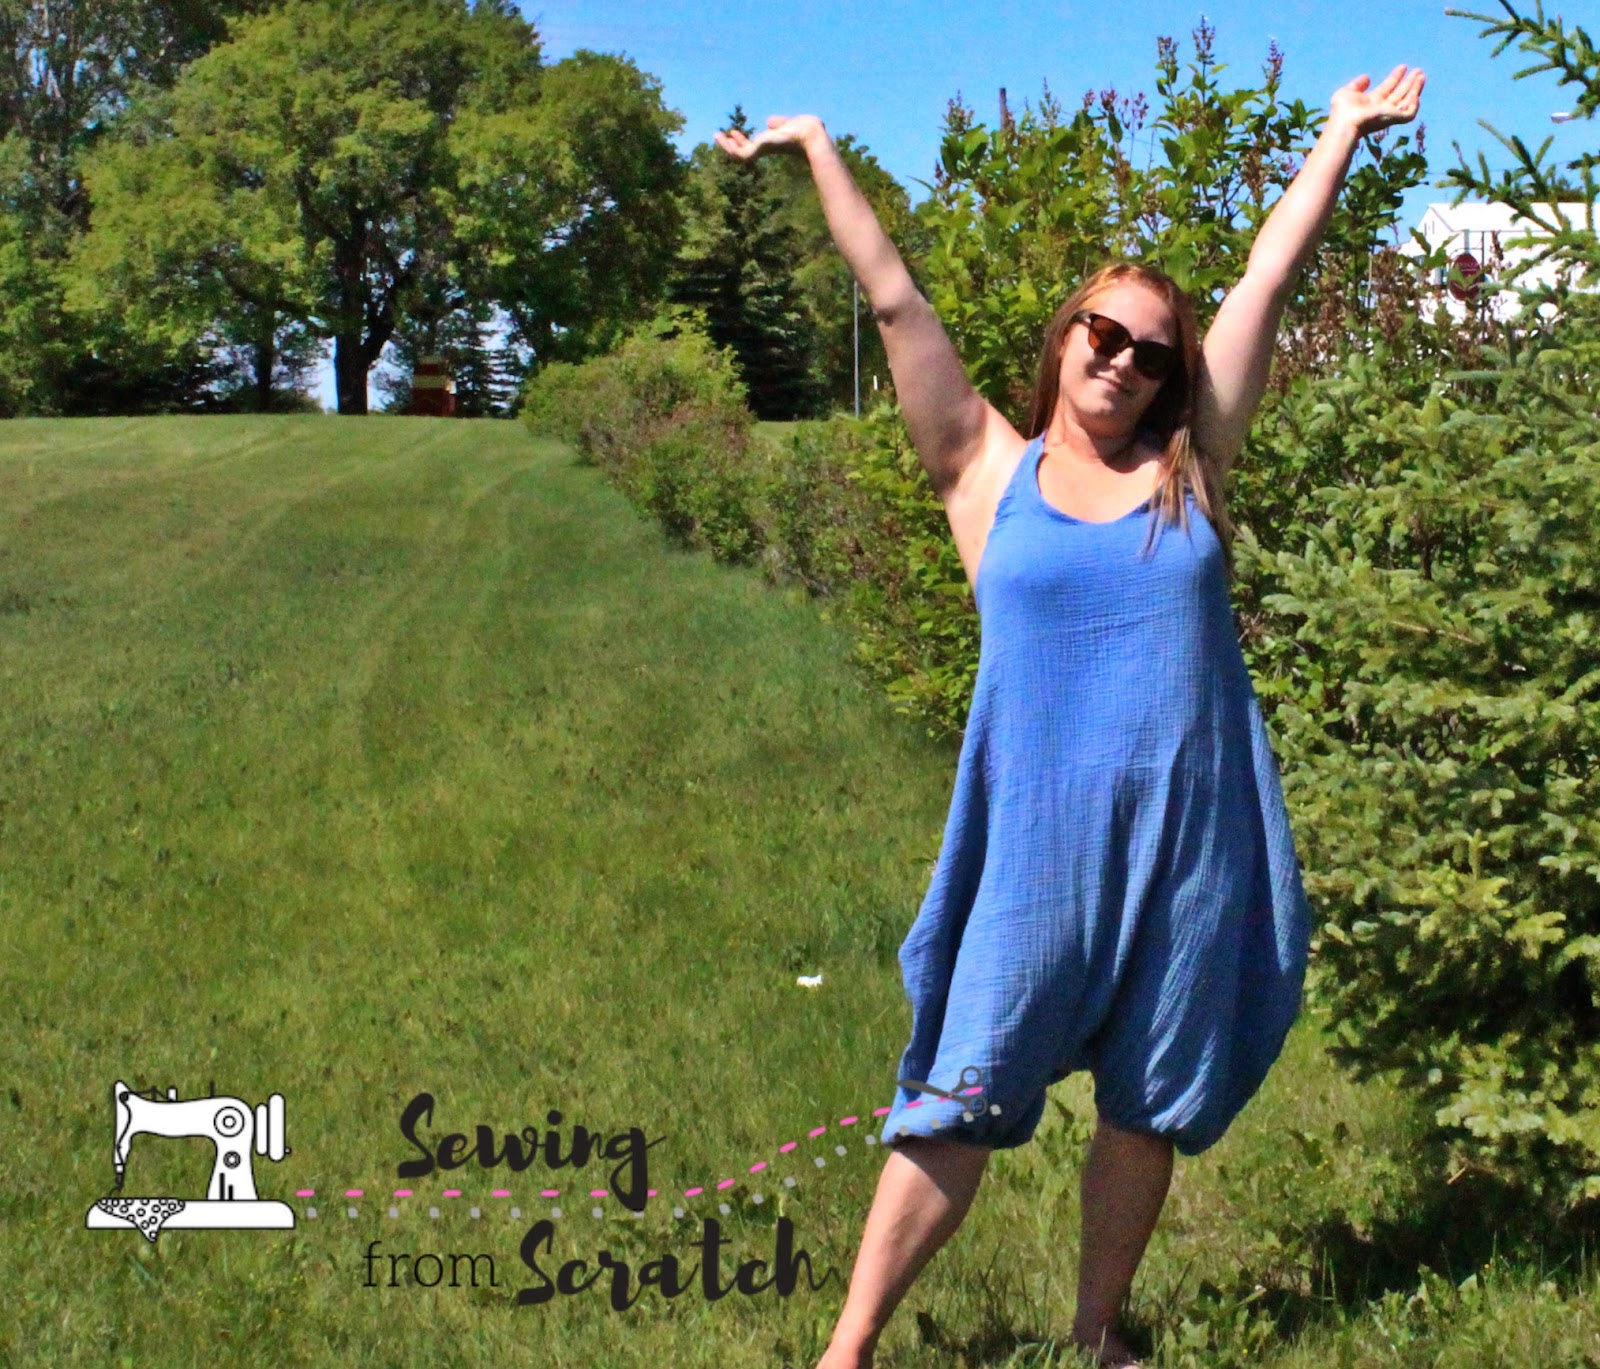
I made the tough decision to let this romper go, but that doesn’t mean I just tossed it! I decided to upcycle it into something that will suit my closet much better. At first I was thinking of some sort of cami or casual top, or something. But then I remembered I had a bit of this dreamy double gauze left over, so decided to go for a dress I’ve been wanting to make for quite a while.
A gathered tiered dress
You’ve probably seen these all over the internet. The super flowy, bohemian, pretty peasant-style dresses with loads of fabric and beauty. I’m here for it. I figured I’d start with a basic boxy top pattern and just add some skirts to it.
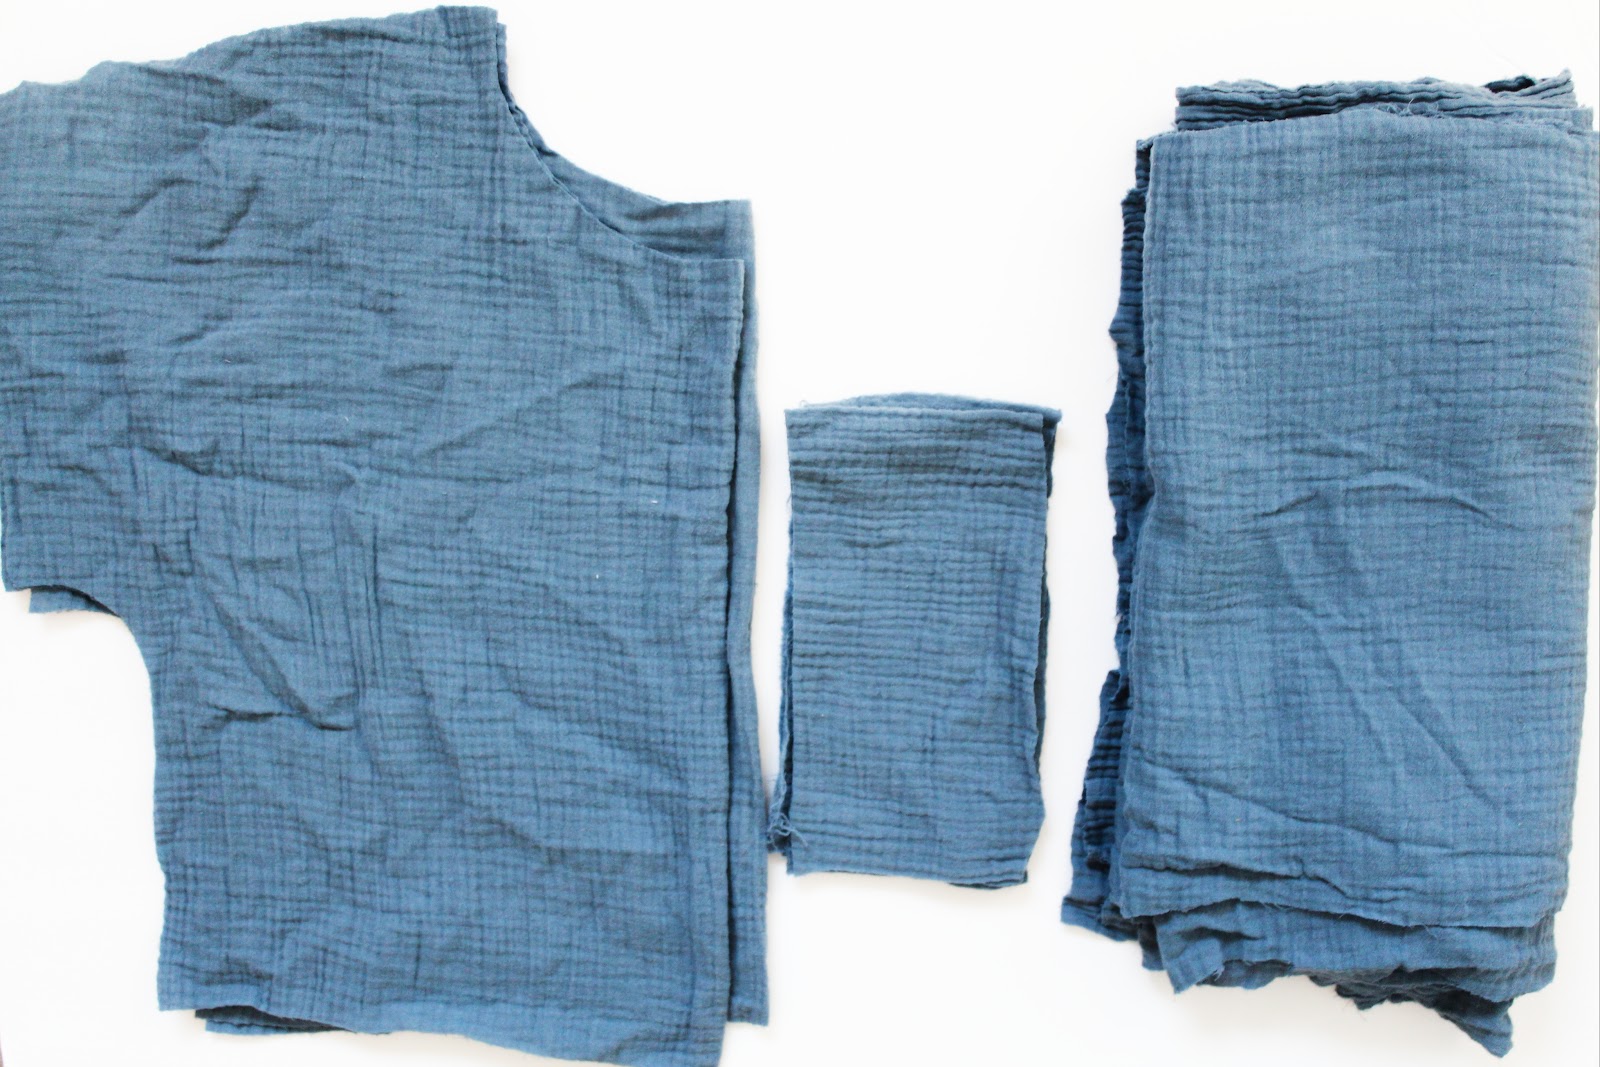
Enter: Parker Peplum
The Parker Peplum has the exact shape of bodice I was looking for. All I had to do was omit the peplum skirt and add my own larger gathered versions. Easy. as. Pie.
*For another PP hack, check out this video https://youtu.be/8BAiYCkez2M
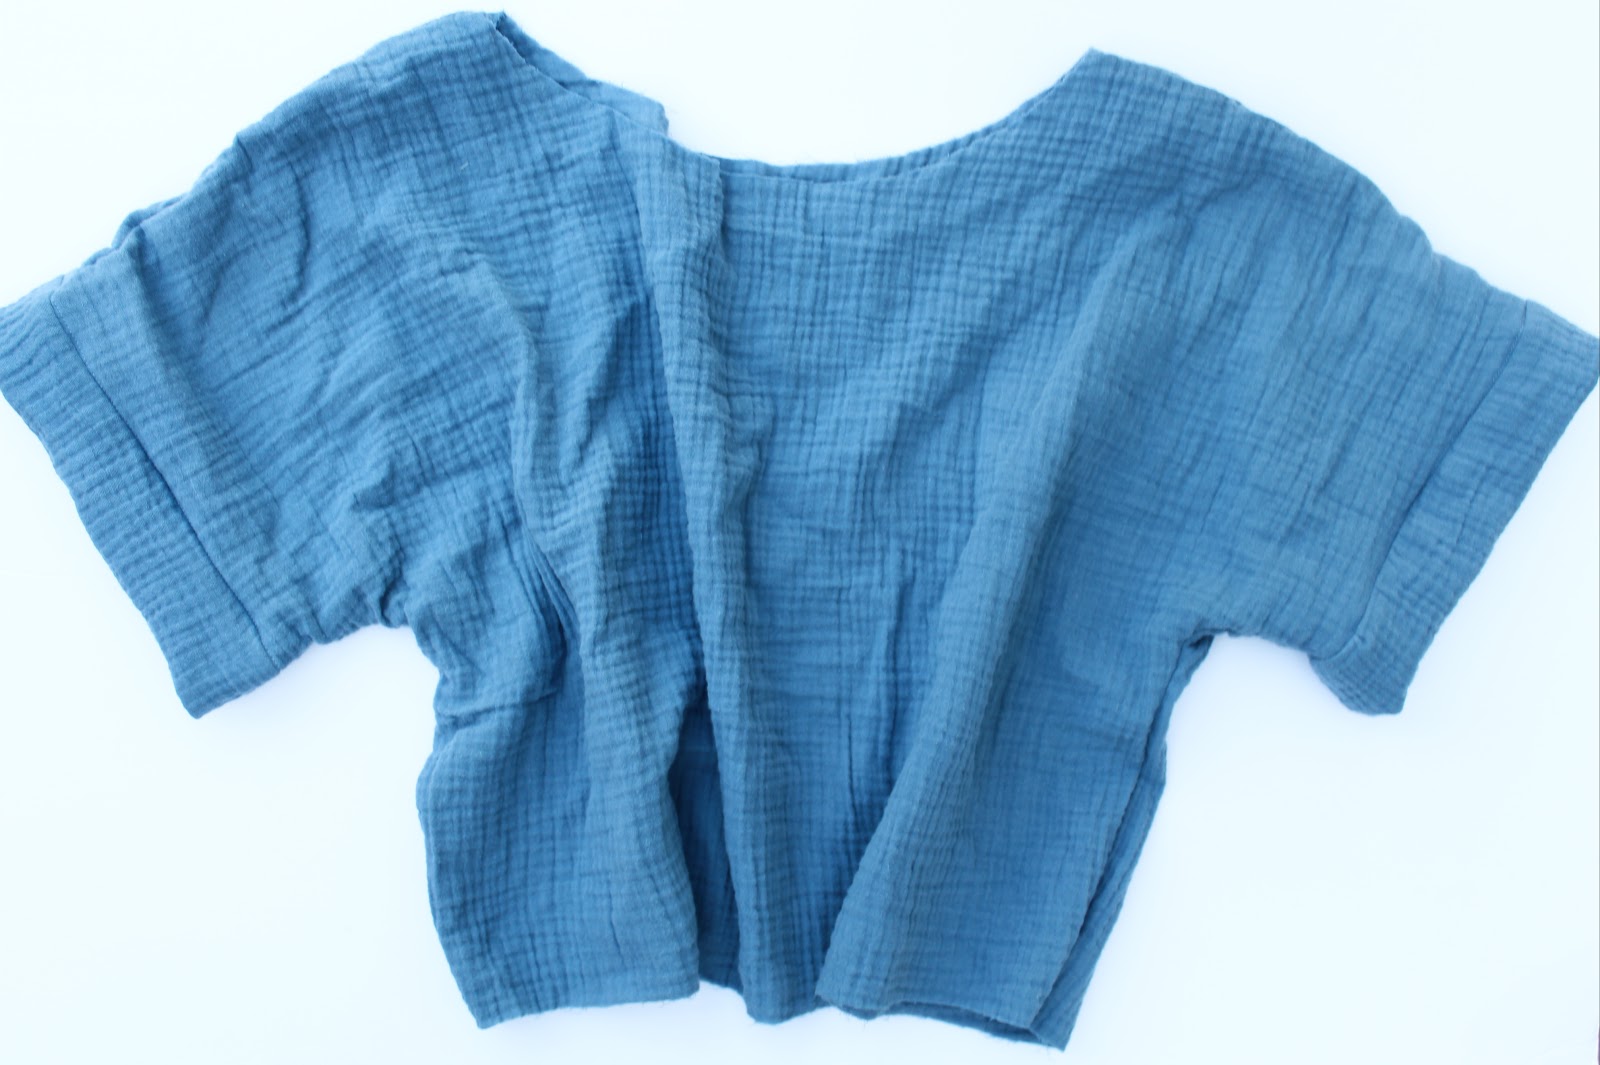
The Details
I really didn’t make any adjustments to the bodice portion, other than hiding the cuff seams – something that’s personal taste, and you can see what I mean in this video.
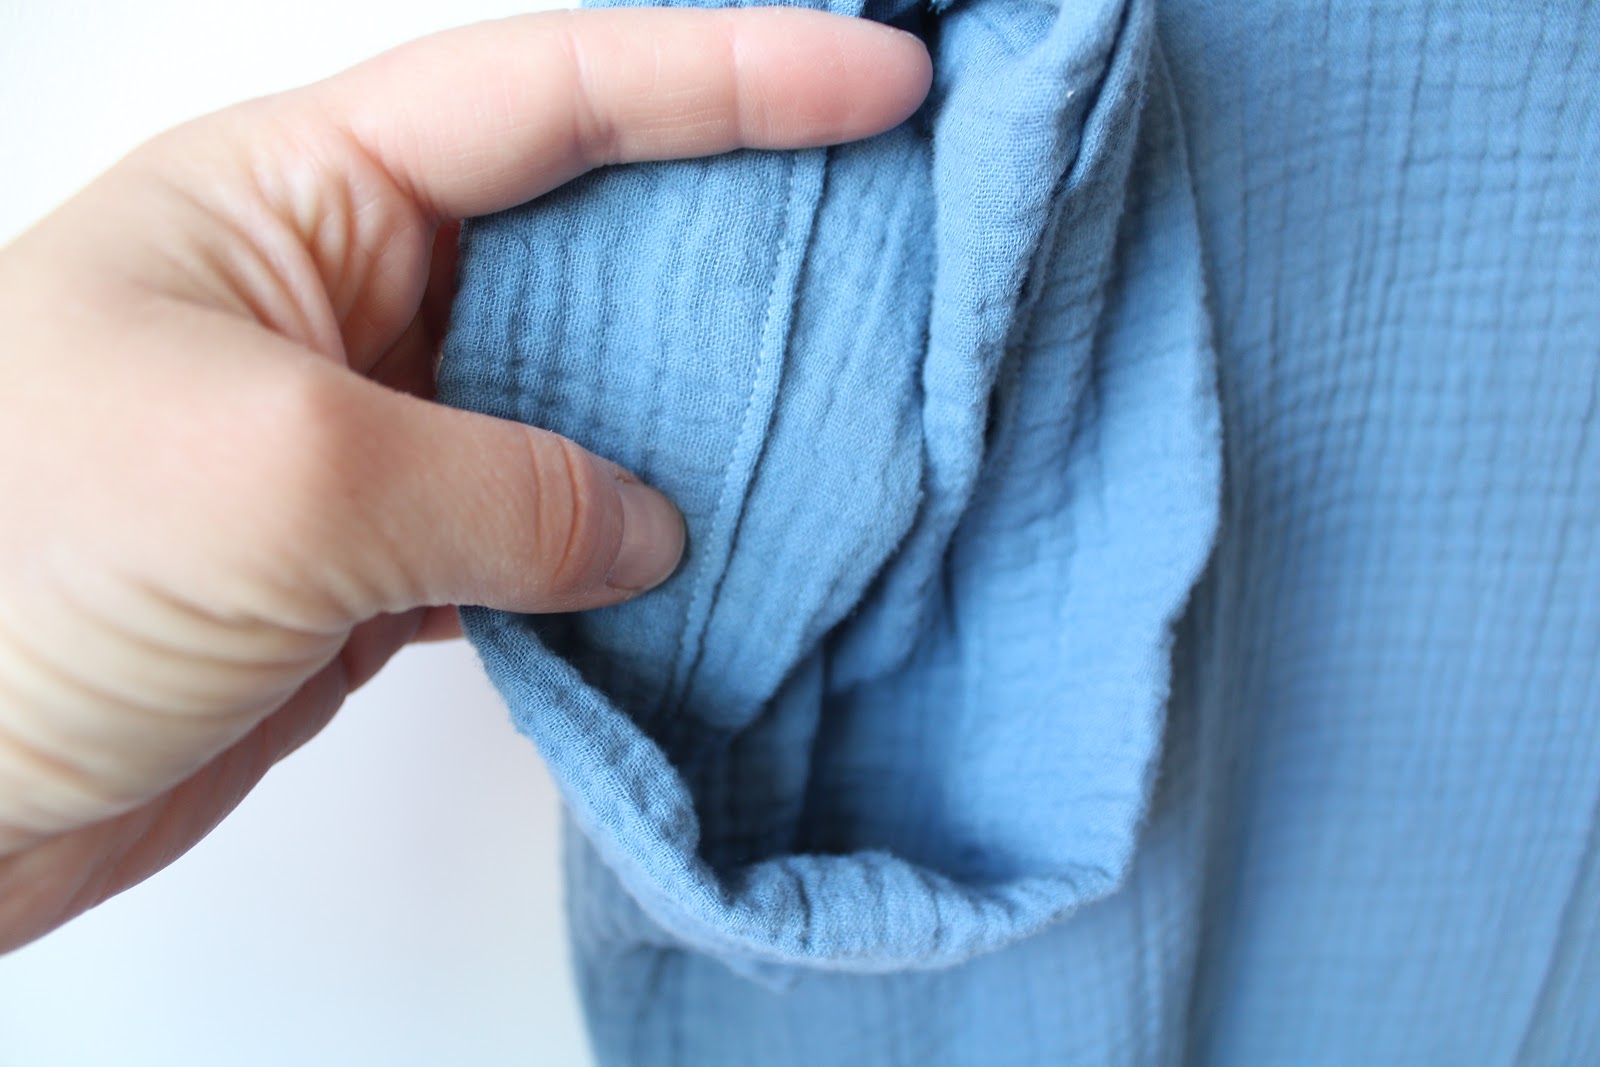
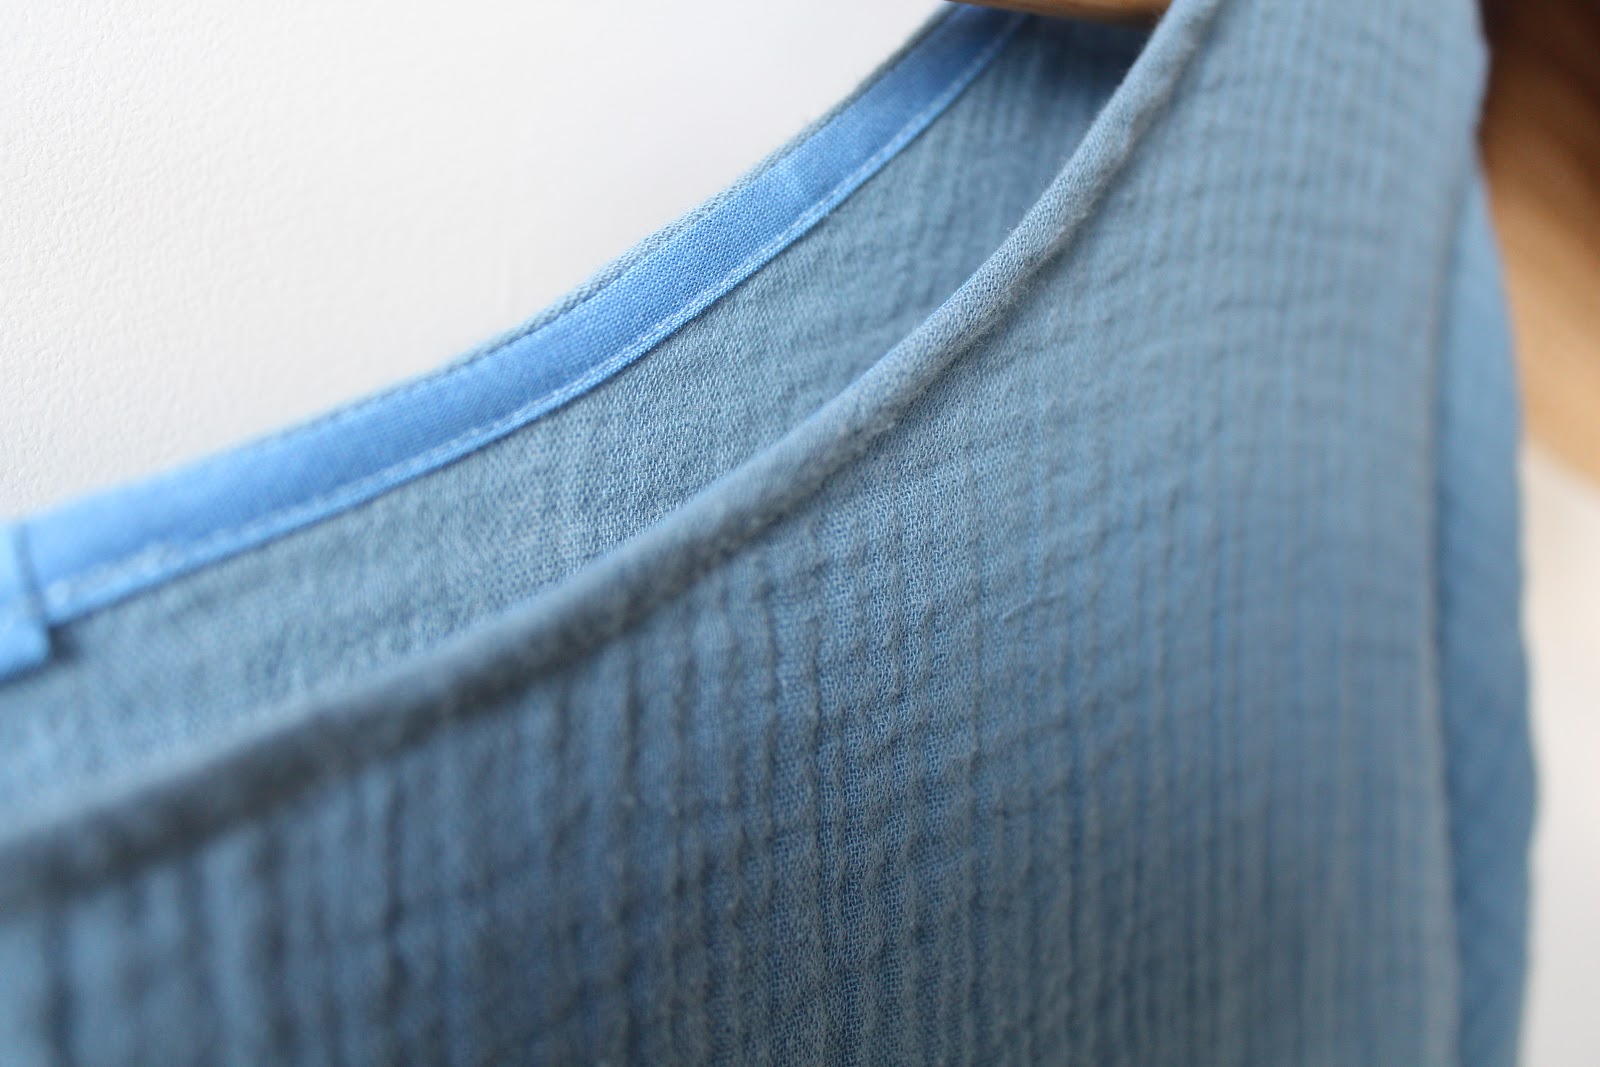
I also chose to do a bias facing around the neckband. To do this, I just sewed double fold bias tape RST with the neckline, aligning raw edges and sewing in the first crease. Then, flipped it to the inside and topstitched very carefully.
Hacking
Adding the skirts was a matter of working with the materials I had. I wanted as full of a skirt as I could get, so the bottom tier ended up being skinnier, but longer than the first.
The first tier was 2 pieces of fabric 14” x 54” each (front & back). I sewed these together along the sides, gathered them and attached to the bodice, being sure to mark the centers of both the front & back bodice, as well as front & back skirt. I like to align the side seams & centers (quarter points) and then equally gather between those points.
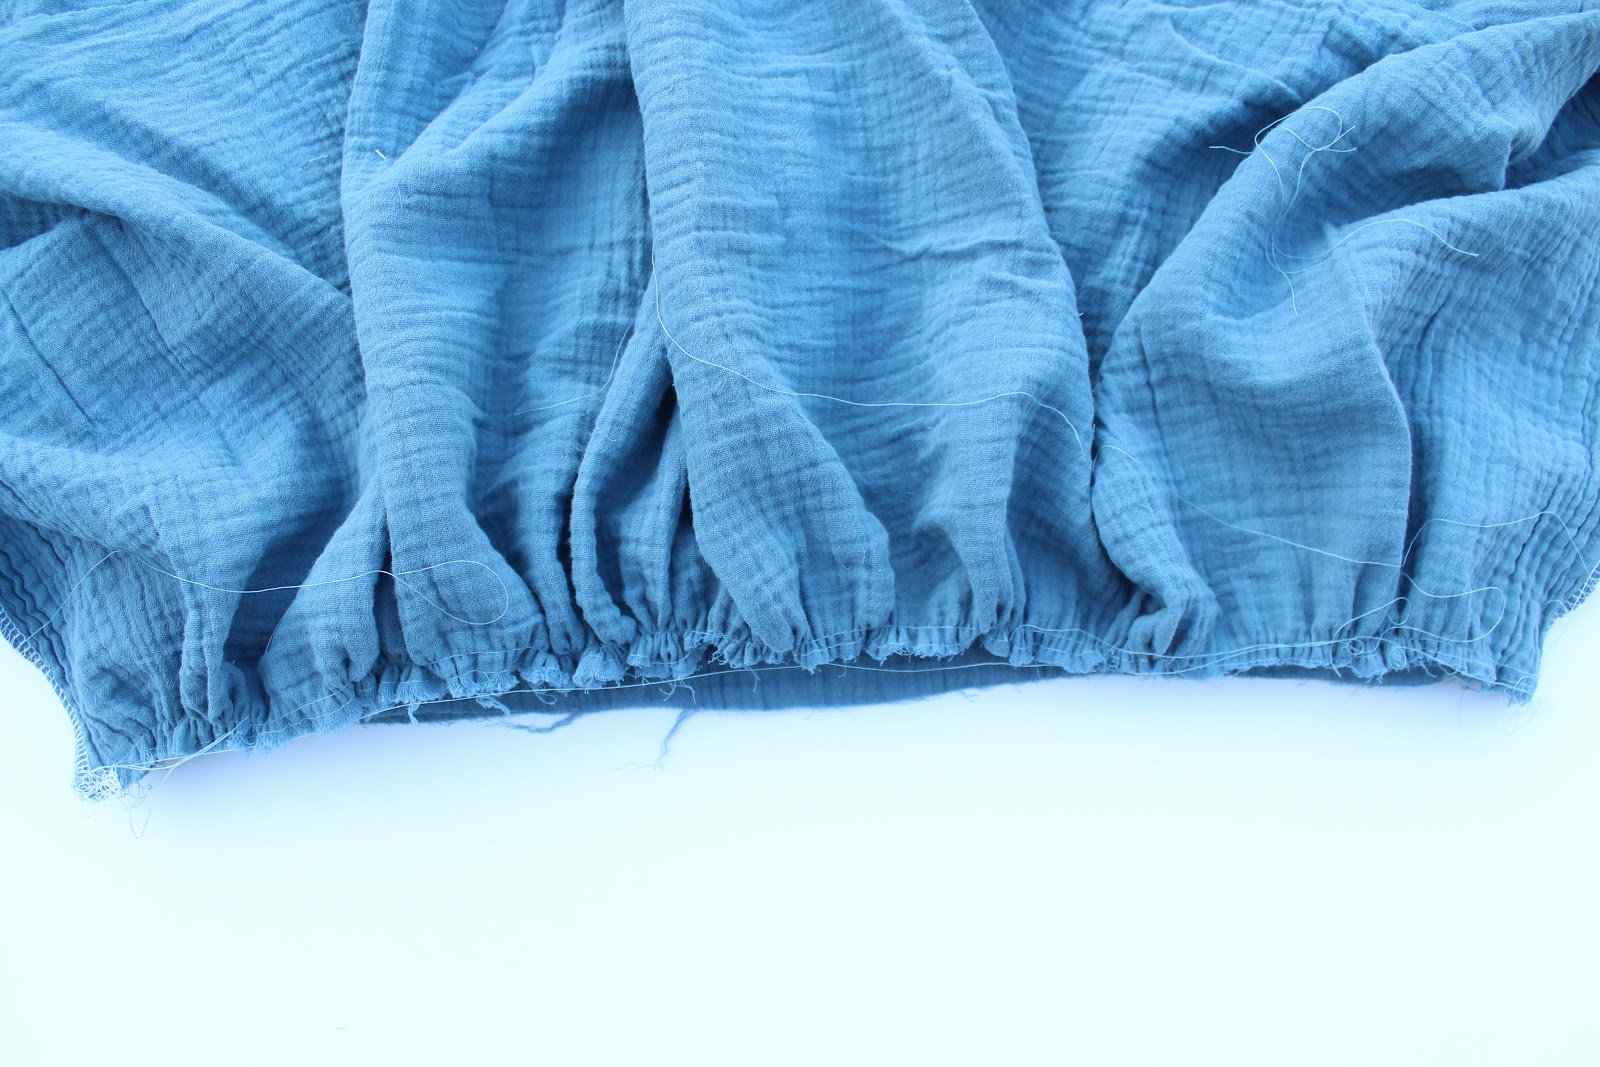
For the bottom tier, I did have 2 pieces the same size as the top tier, but then realized I want the bottom tier to be longer, so I cut them both in half (height-wise) to make 4 pieces that were 7” high x 54” wide. I then sewed all four together to form one huge loop. 2 paenls to form the front, 2 panels to form the back. I then gathered this all and attached it to the bottom raw edge of the top tier.
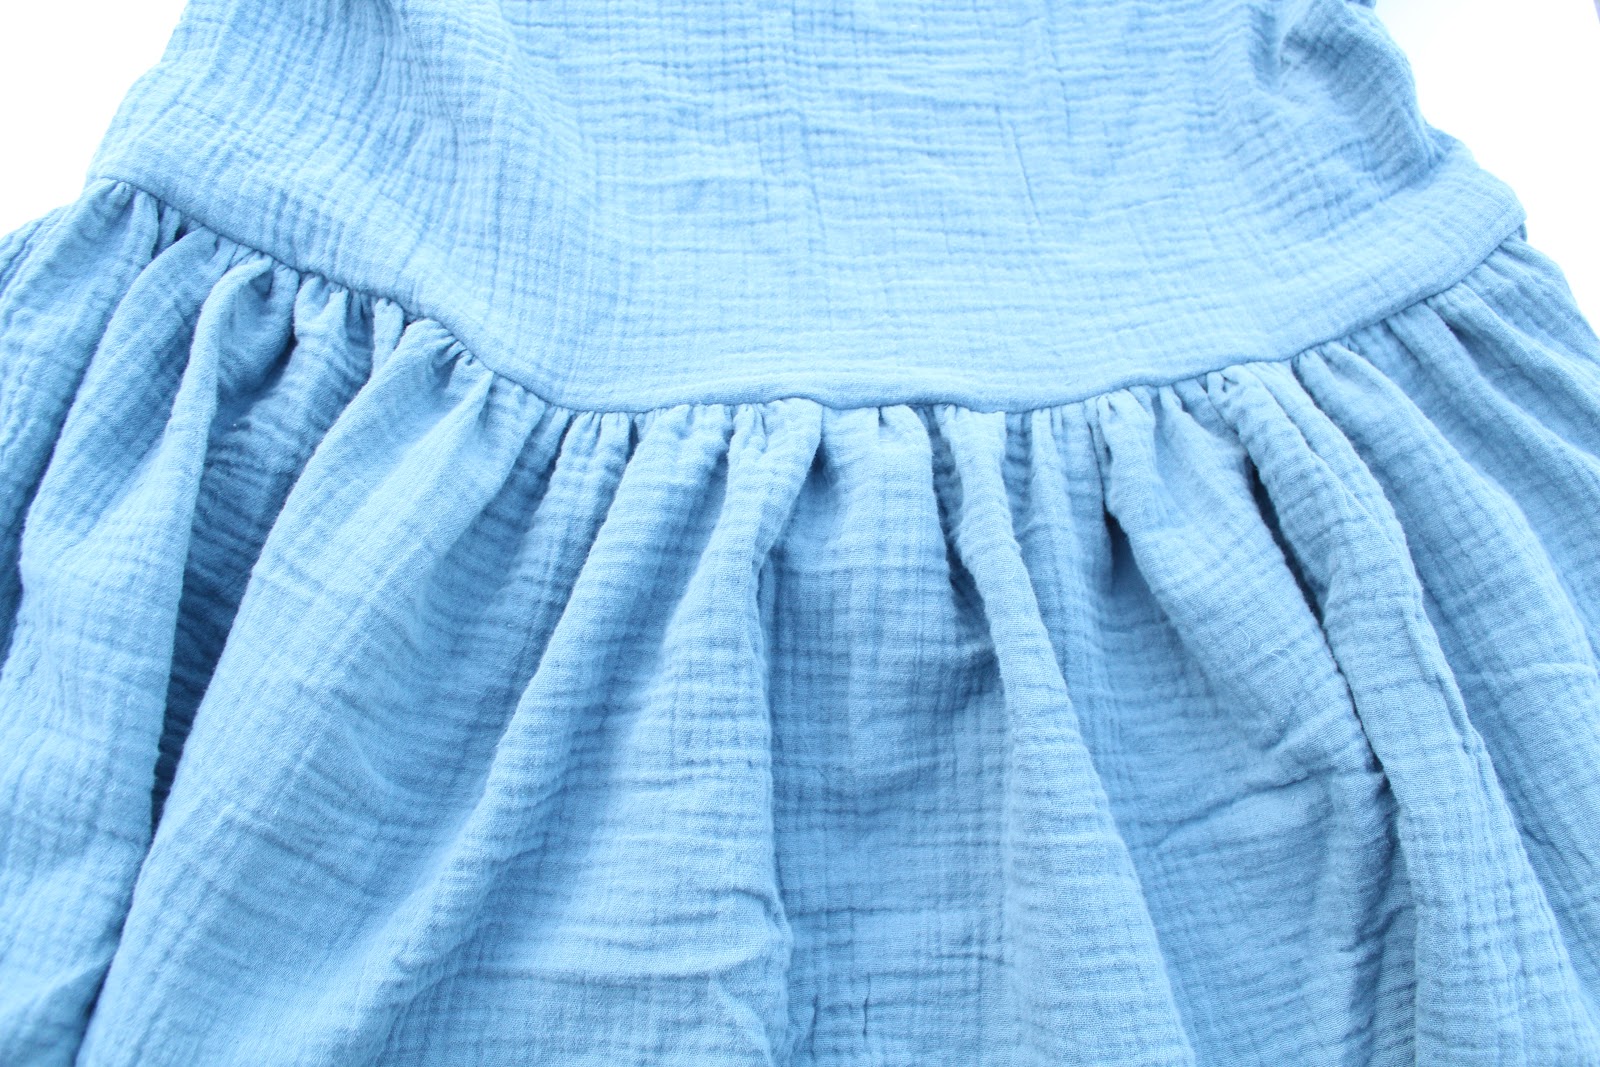
The final garment


You may or may not notice that this bottom tier is cut on the cross grain. Again, I was working with what I had! Not many people in my life will notice it (if any), but if it ever comes up, I’m proud that I used what I had AND I think it adds a nice detail.
If you’d like to see more of this dress “in action” I show a little clip of it in this video.