

By Melissa Evans- Mahlica Designs
Hi there, it’s Melissa from mahlicadesigns. I’d like to share with you a fun way to dress up the insides of your favorite tees with the added bonus of making it easier to tell the front from the back when you’re getting dressed.
A neck and shoulder binding is the solution and a pretty easy extra step to add to your construction. I think this method is the easiest and gives the nicest finished.

Let’s get sewing.
Supplies:
Your favorite knit tee pattern cut out and ready to sew. You will also need an additional strip 1.25in x 27in (actual length TBD) of the same or contrasting lightweight knit fabric.
Getting started:
Sew the shoulders right sides together using a 3/8in seam allowance and a narrow zig zag (do not use a serger/overlocker). If your pattern calls for a wider seam allowance, sew as directed and trim away the excess width. Do not add a stabilizer along the shoulder seams.
Insert your neckband:
Option 1. Sew in your neck band using a narrow zig zag (do not use a serger/overlocker). The front of the neckband seam allowance will remain unfinished. You have the option of leaving it unfinished or top stitching it in place after the binding is attached.
Option 2. Sew in your neck band using a narrow zig zag along the back portion only from shoulder to shoulder. Serge the front portion only from shoulder to shoulder using your serger/overlocker. Weave in your thread tails.
Apply the neck/shoulder binding
Press the neck band seam allowance towards the bodice of your tee. With your tee laid out flat wrong side up, carefully measure from one end of your shoulder seam around the back neck and across the other shoulder seam. Add 2in to this measure to determine your binding length. Cut your binding strip 1.25in by your binding length.
Press one long edge of your binding strip up (wrong sides together) by 3/8in.
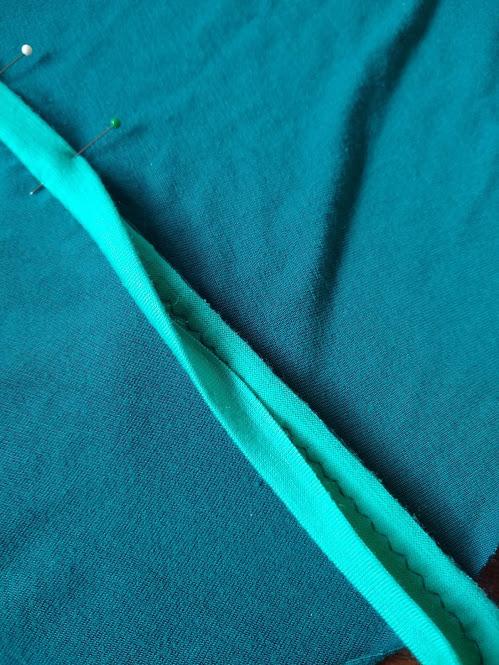
Starting at center back, pin the unpressed edge of the binding to the seam allowance of the neckband. Slightly stretch the binding as you make the sharp curve from the neckband to the shoulder seam. Continue pinning in place across the shoulder seam allowances. Make sure the bodice is not caught up in the layers.

Sew the binding and seam allowance layers together using a scant 3/8in and a narrow zig zag stitch. Be extra careful to not catch the bodice in your seam at the shoulder and neckband intersection.

Trim the shoulder/back neckband seam allowance down to just under 1/4in. Fold over the binding to cover your seam and pin in place. You may have to ease in a little of the binding around the shoulder and neckband intersection. Check from the front to make sure everything is laying smoothly.

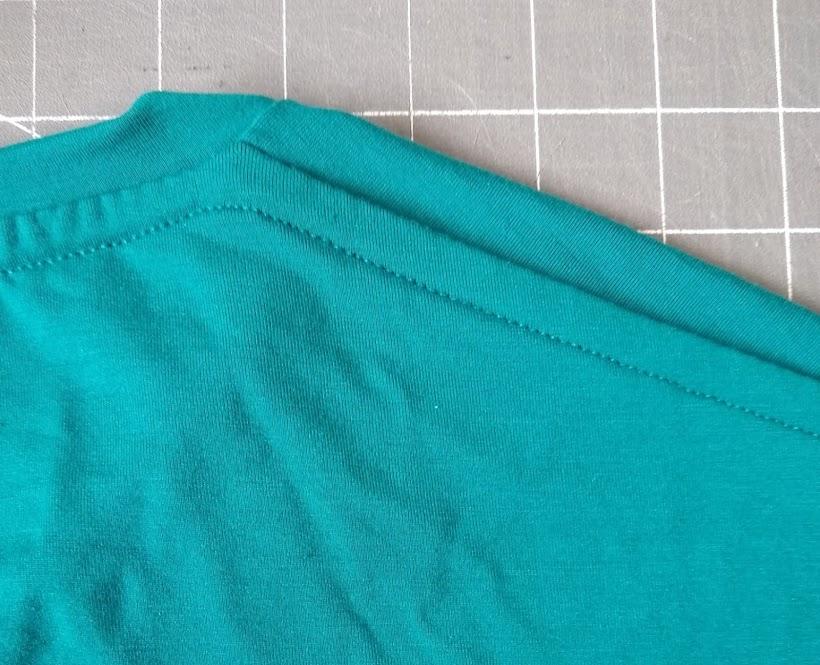
With wrong side up, use a straight stitch to edge stitch the binding in place. Go slowly and do your best to sew a straight even line, as this stitching will appear on the outside of your garment.

Trim away any excess binding that extends past the shoulder edges.
You’re finished with your binding!

Continue sewing your tee per your patterns instructions and Enjoy!