By Sarah – Sew it Better
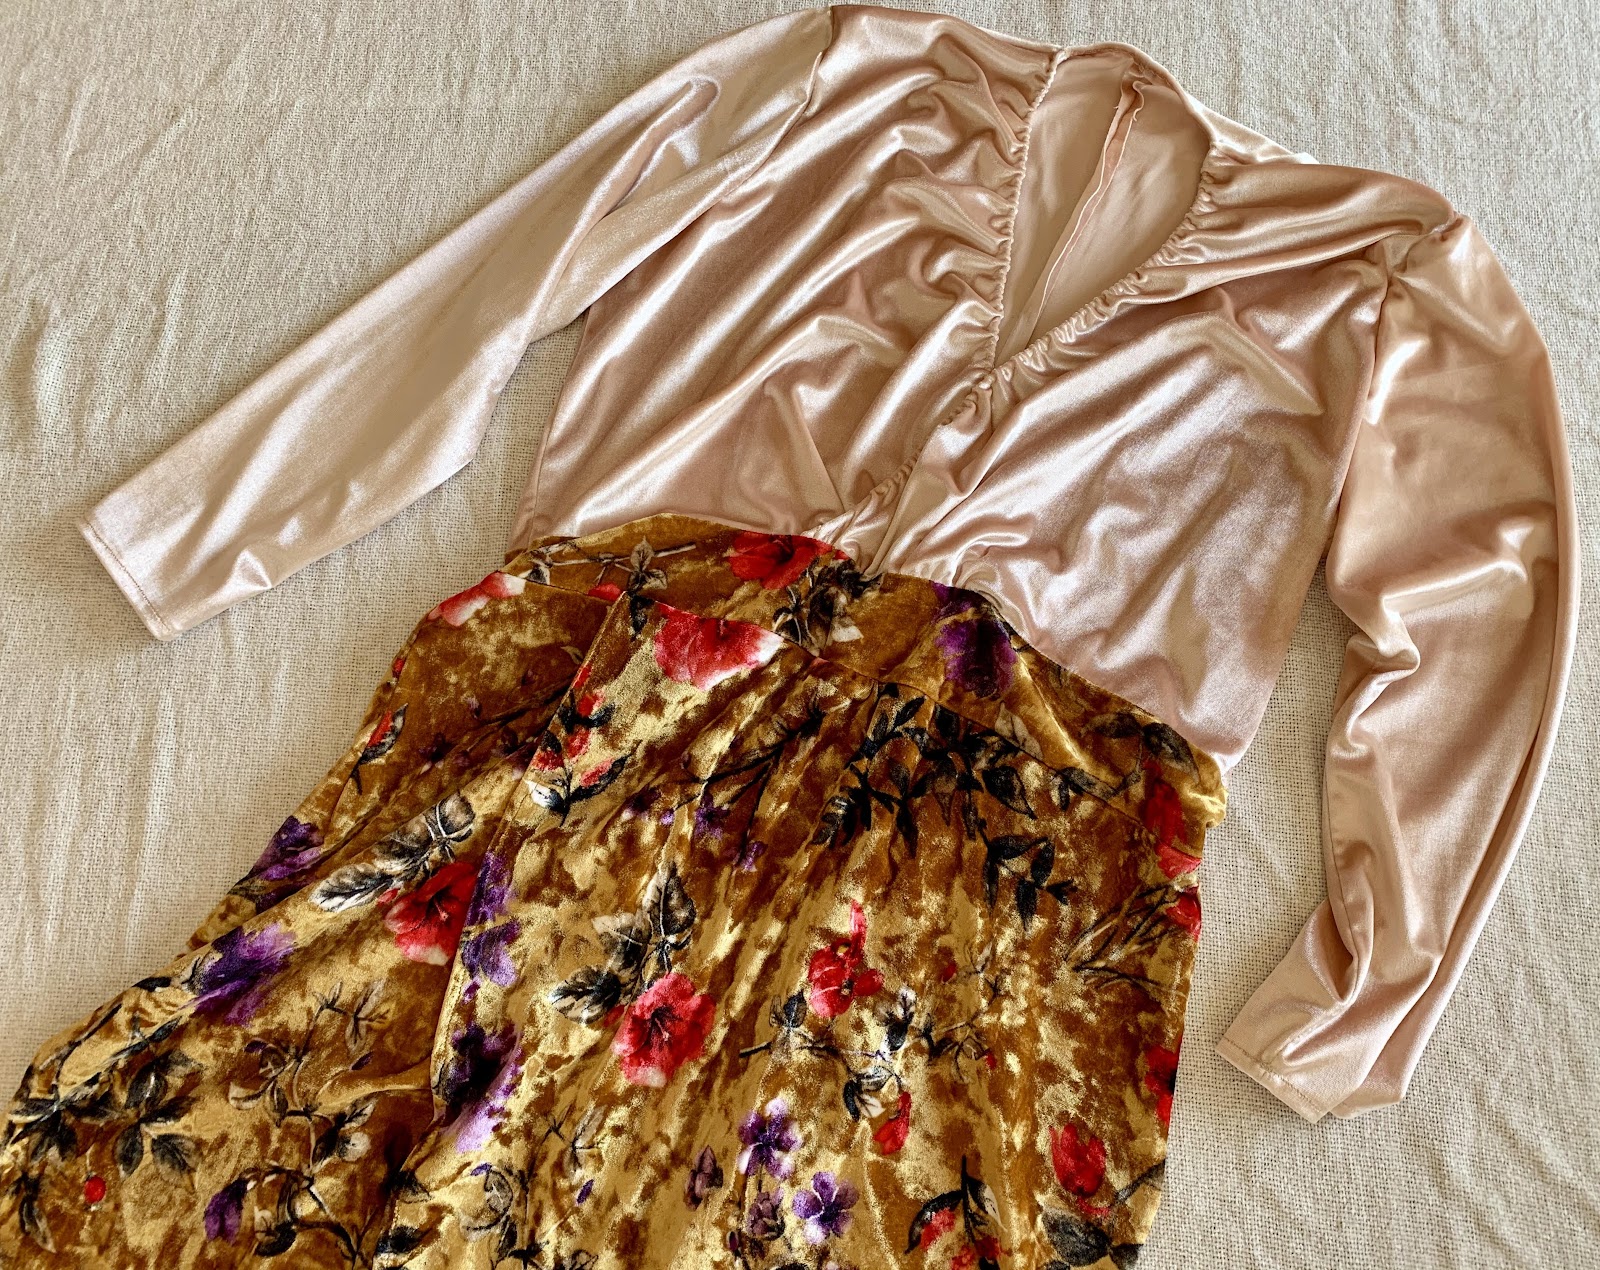
I might be a little bit obsessed with texture. Give me anything with soft fluff, fuzz or fur and I’m there. In fact, velvet and velour now makes up much more of my wardrobe than I ever thought it would. In my childhood velvet was something that only appeared on Christmas dresses and the ball gowns of princesses. At least, that’s why my 6-year-old self assumed. Now, I’m a grown woman living my best princess life wearing a stretch velvet t-shirt to the grocery store!
I’ve made a few interesting items out of stretch velvet in the last year, and I thought this was the perfect opportunity to share my sewing tips with you!
First, don’t let the thought of stretch velvet intimidate you. You can do it! If you’re nervous about giving it a go just use the KISS philosophy: keep it simple, sewists! Simple garments with fewer details will make wading into the silky soft waters of stretch velvet easier. This fabric elevates even simple garments to something stunning. Make a t-shirt, pencil skirt or leggings! The Seen & Sewn Parker Peplum would be perfect for this kind of project!
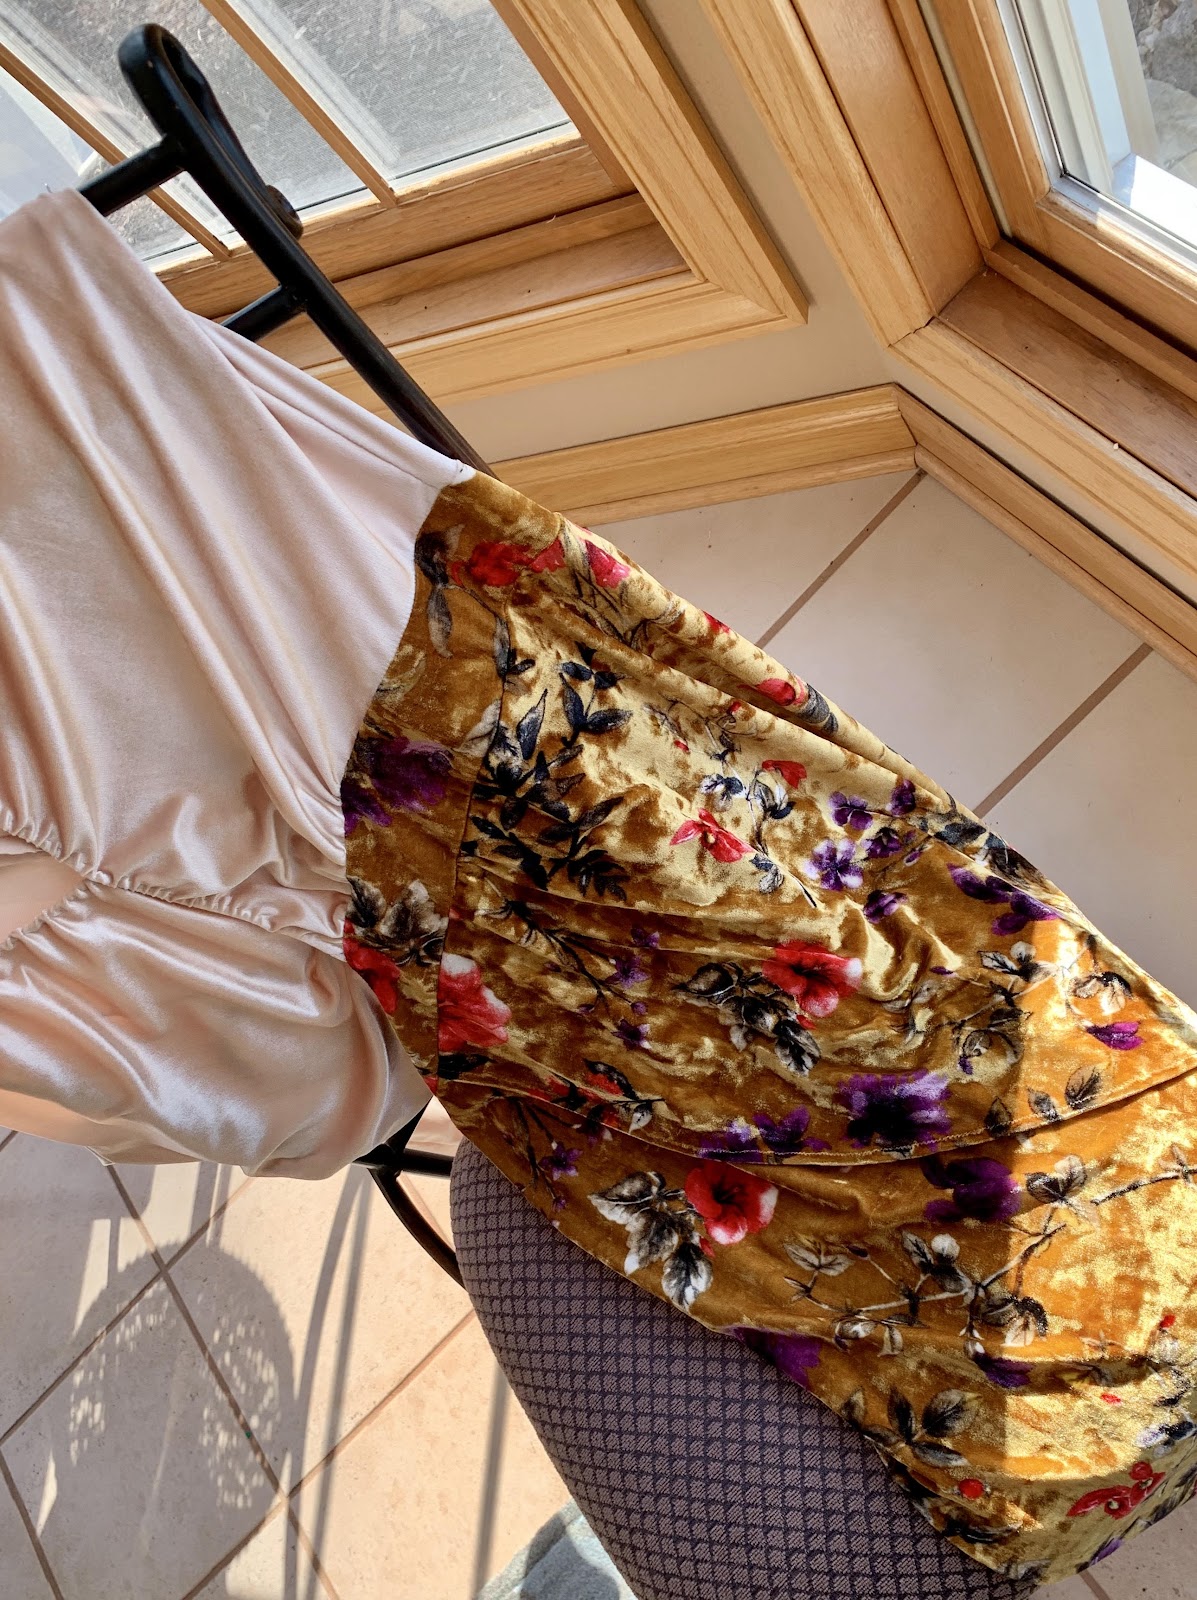
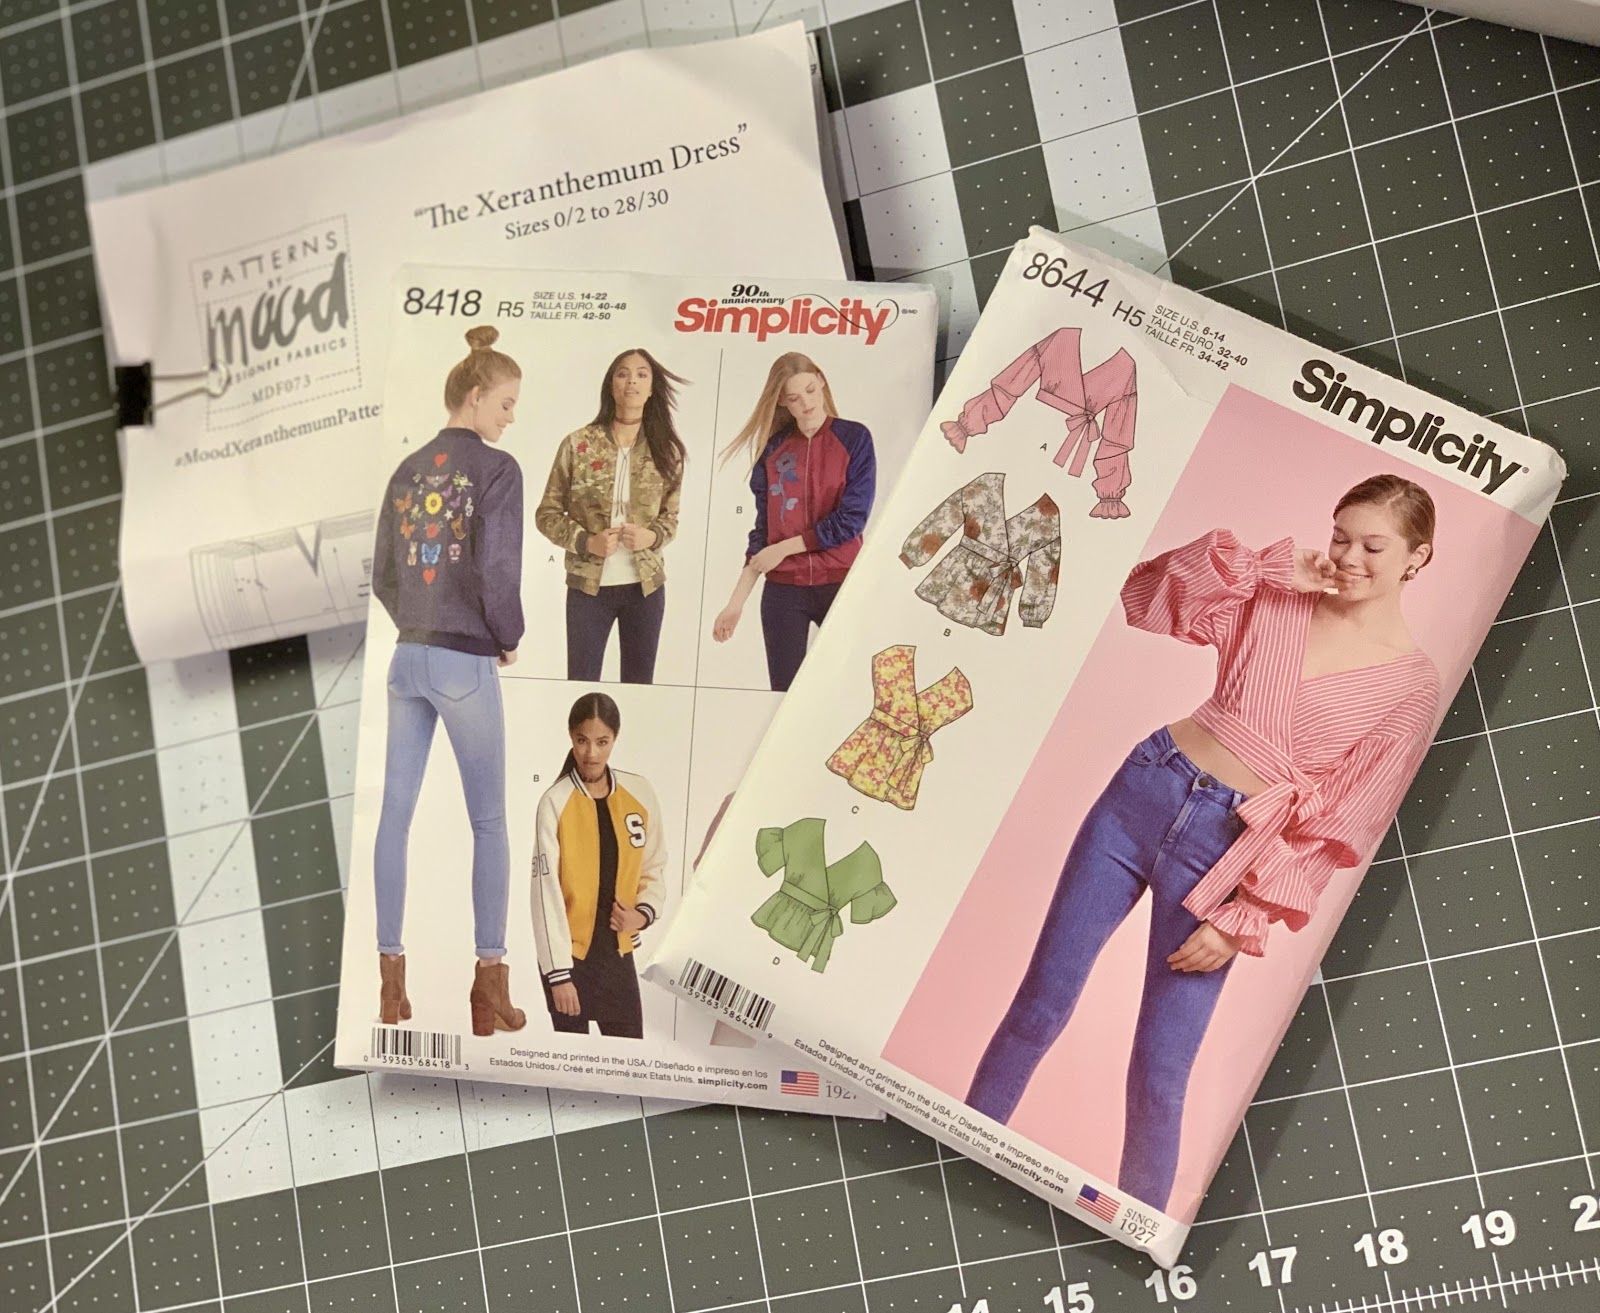
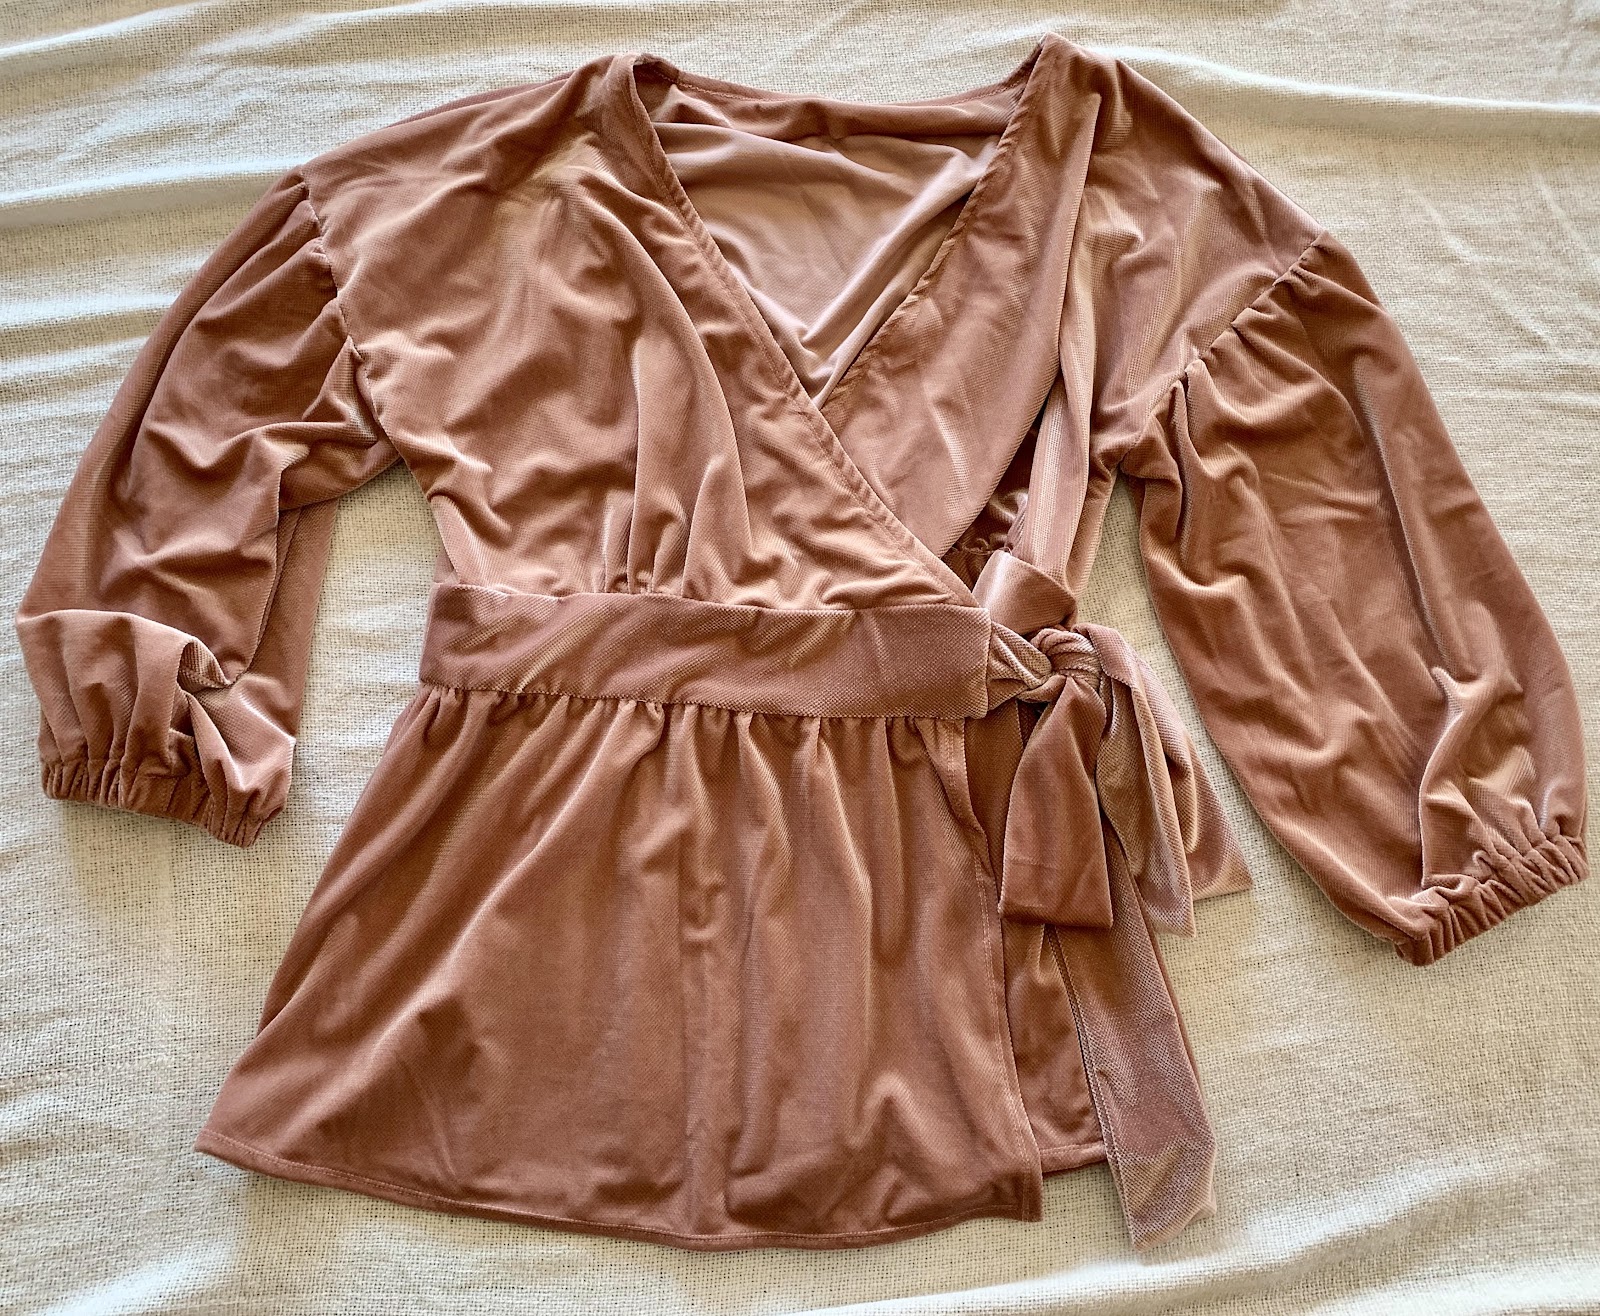
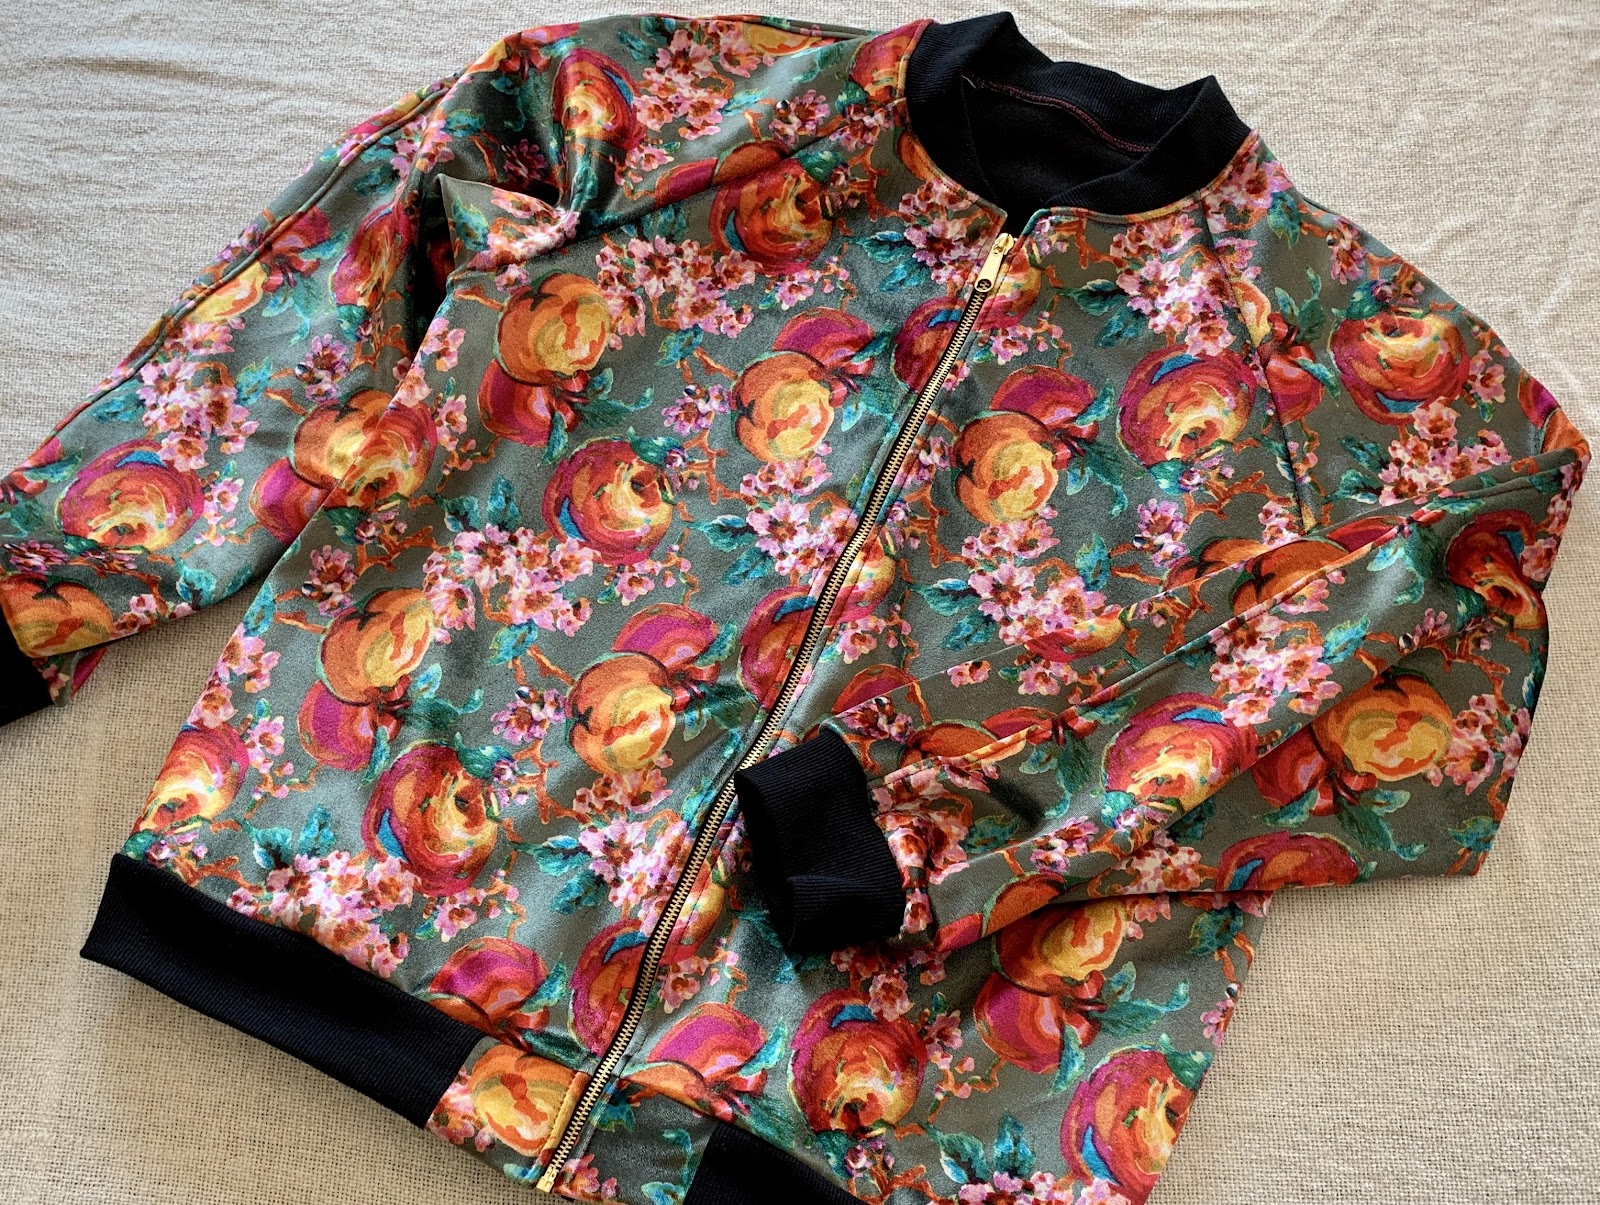
If you really want to dive into sewing with stretch velvet, don’t be afraid to be creative with pattern choice. Only one of the patterns I sewed up in velvet this year was made for a knit. With a little thought, woven patterns can work too. Here are some of the patterns I used for my favorite stretch velvet makes from the past year:
Next, be prepared for a mess. Tiny fibers will get everywhere. It might be a good idea to at least lightly clean your machine afterward. Here’s a little pro trip on clean-up: save a small scrap for dusting! The pile of the velvet picks up those little fibers that end up all over your cutting table and sewing desk and scissors and machine and floor and small children that wander by.
Now that you’ve picked a pattern and you’re ready to go, don’t freak out about the direction of the nap/pile. The direction of the pile is just a personal preference. Hold up your fabric and see how it catches the light in either direction. The only rule to follow here is to make sure whichever direction you decide, all your pieces go the same way.

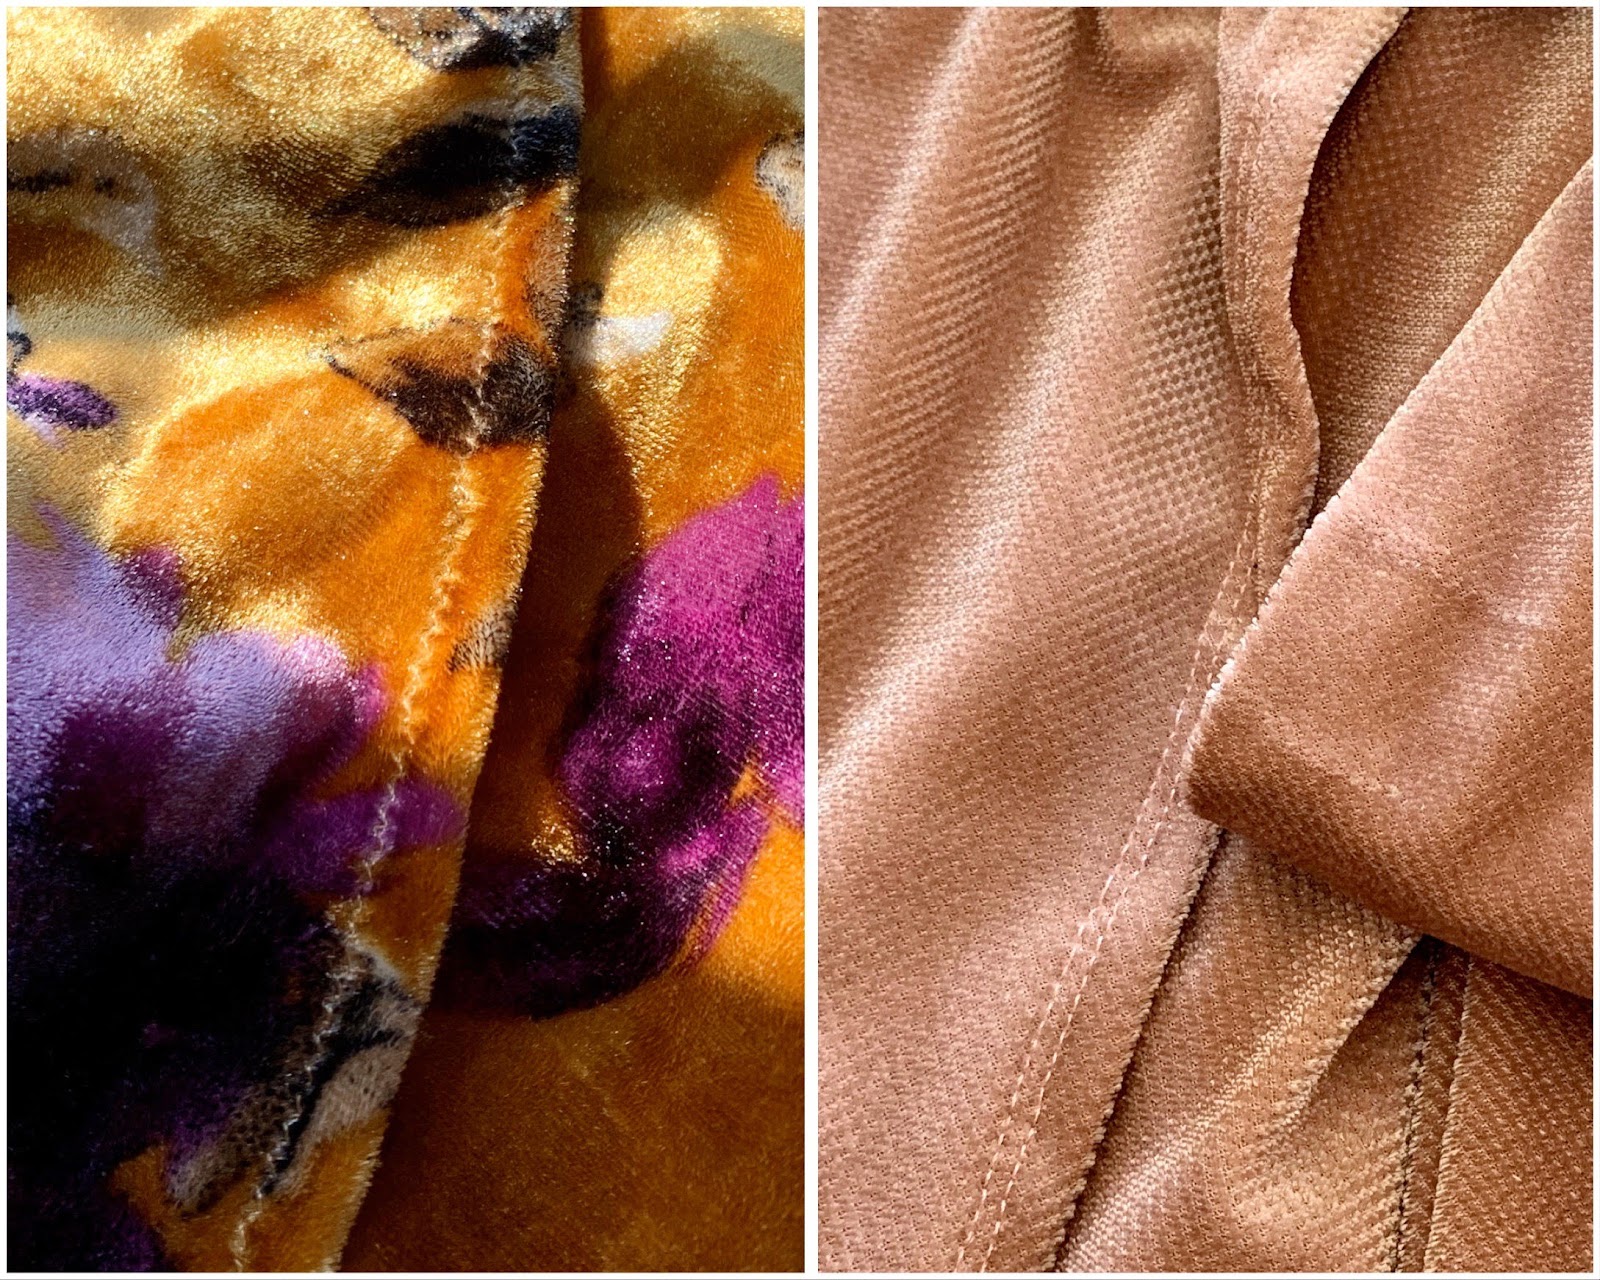
Cutting can be a little finicky, but not difficult. Cutting in a single layer helps with any warp or creep that might happen between the layers of the fabric as the pile pulls on itself.

My next tip: you don’t need a serger! I don’t use one, and while you definitely can use a serger on stretch velvet, you don’t need to. There are several options for stitches to use, but I prefer the stretch stitch to get clean seam lines. Haven’t used the stretch stitch before? It’s that one that looks like a Z shape. I keep the stitch length relatively short and use a walking foot to prevent creep and warping as I’m sewing. A walking foot has definitely been my key to success with stretch velvet, especially those that are thinner and less stable. Depending on your preference for how you’d like your hems to look, you could continue to use a stretch stitch, or topstitch it with a twin needle.
Lastly, don’t press that velvet without taking some precautions! I don’t usually have much need to press stretch velvet, but if you do, put the pile face-down and use a pressing cloth with a lower heat setting. Experiment on a scrap first before melting, squishing or otherwise maiming any of that beautiful pile!
No go forth and sew all the gorgeous, luxurious texture for your wardrobe without fear, and wear your new secret princess clothes to the grocery store!